
Enhance Your Gaming Experience: Set Custom Refresh Rates on onegamex 2
September 05, 2026
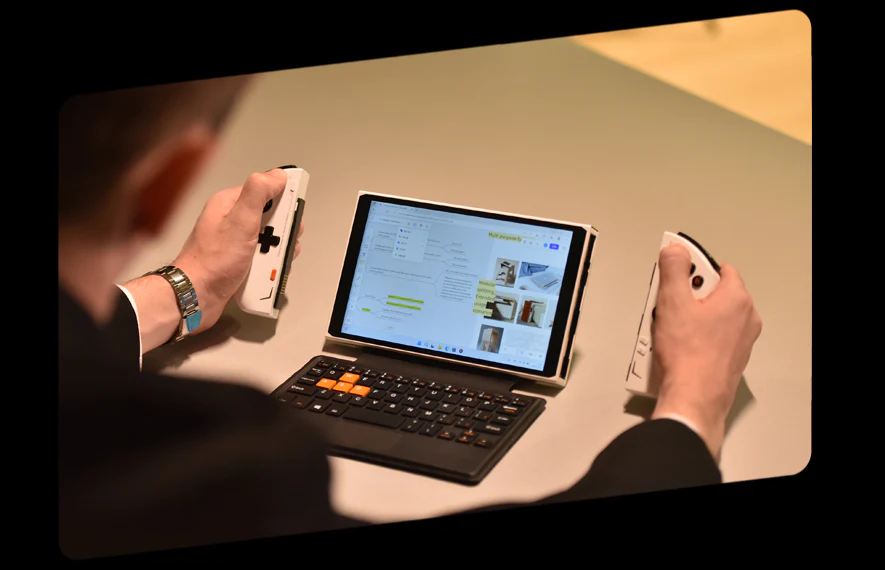
Introduction: Discover how to improve your gaming visuals on the onegamex 2 by setting up custom refresh rates. Follow these simple steps to unlock a smoother and more enjoyable gaming experience on your device.
https://www.youtube.com/watch?v=KPbe3_bcByc
-
Download and Install Custom Resolution Utility: Begin by searching and downloading the Custom Resolution Utility (CRU). This tool will enable you to make advanced display adjustments for your onegamex 2.
-
Select Your Internal Display: Launch the CRU and ensure that your onegamex 2's internal display is selected. This will allow you to make custom changes tailored to your device's specifications.
- Copy and Paste Current Display Settings: Within the CRU, locate the top resolution option and copy the existing display settings. This will serve as a baseline for your custom refresh rate adjustments.
-
Create a New Resolution Profile: Click on the "Add" button in the CRU to create a new resolution profile. Paste the copied display settings and proceed to modify the refresh rate. Experiment with different values, such as 40, to find the optimal setting for your gaming needs.
- Apply Changes and Reboot: Save the new resolution profile and exit the CRU. To implement the changes, restart your onegamex 2 by rebooting the system.
-
Verify the New Refresh Rate: After the reboot, right-click on the desktop and access the Display Settings menu. Navigate to the Advanced Display settings and locate your newly created custom refresh rate option. Verify that the changes have been successfully applied.
Conclusion: By setting custom refresh rates on your onegamex 2, you can unlock a smoother and more immersive gaming experience. Experiment with different refresh rate values to find the perfect balance between performance and visual quality. Remember to exercise caution when making any display adjustments and ensure compatibility with your device.